UPDATE: I now have a pattern for a zippered version of this wallet (including all pattern pieces) in my Etsy shop. Youn can find it
HERE.
About nine months ago I acquired seven upholstery fabric swatch books. My friend Melissa P went to buy a daybed from someone on Craig's List, and the woman packed the bed into Melissa's mini-van using the fabric swatch books to keep it in place. Melissa immediately called me and asked if I had a use for them. I said yes, not knowing what, but then I never say no to fabric.
So I've been thinking about what to do with these swatches. I thought about making fabric flowers, but they seemed to want to be something else. (And yes, I think fabric does speak to me. Sometimes when I start a project with one plan in mind, the fabric convinces me to do it another way. I never regret listening to the fabric.)
About three months ago another friend suggested that I contact a local furniture resale and re-upholstery shop to see if they might give me scraps. Kellie from
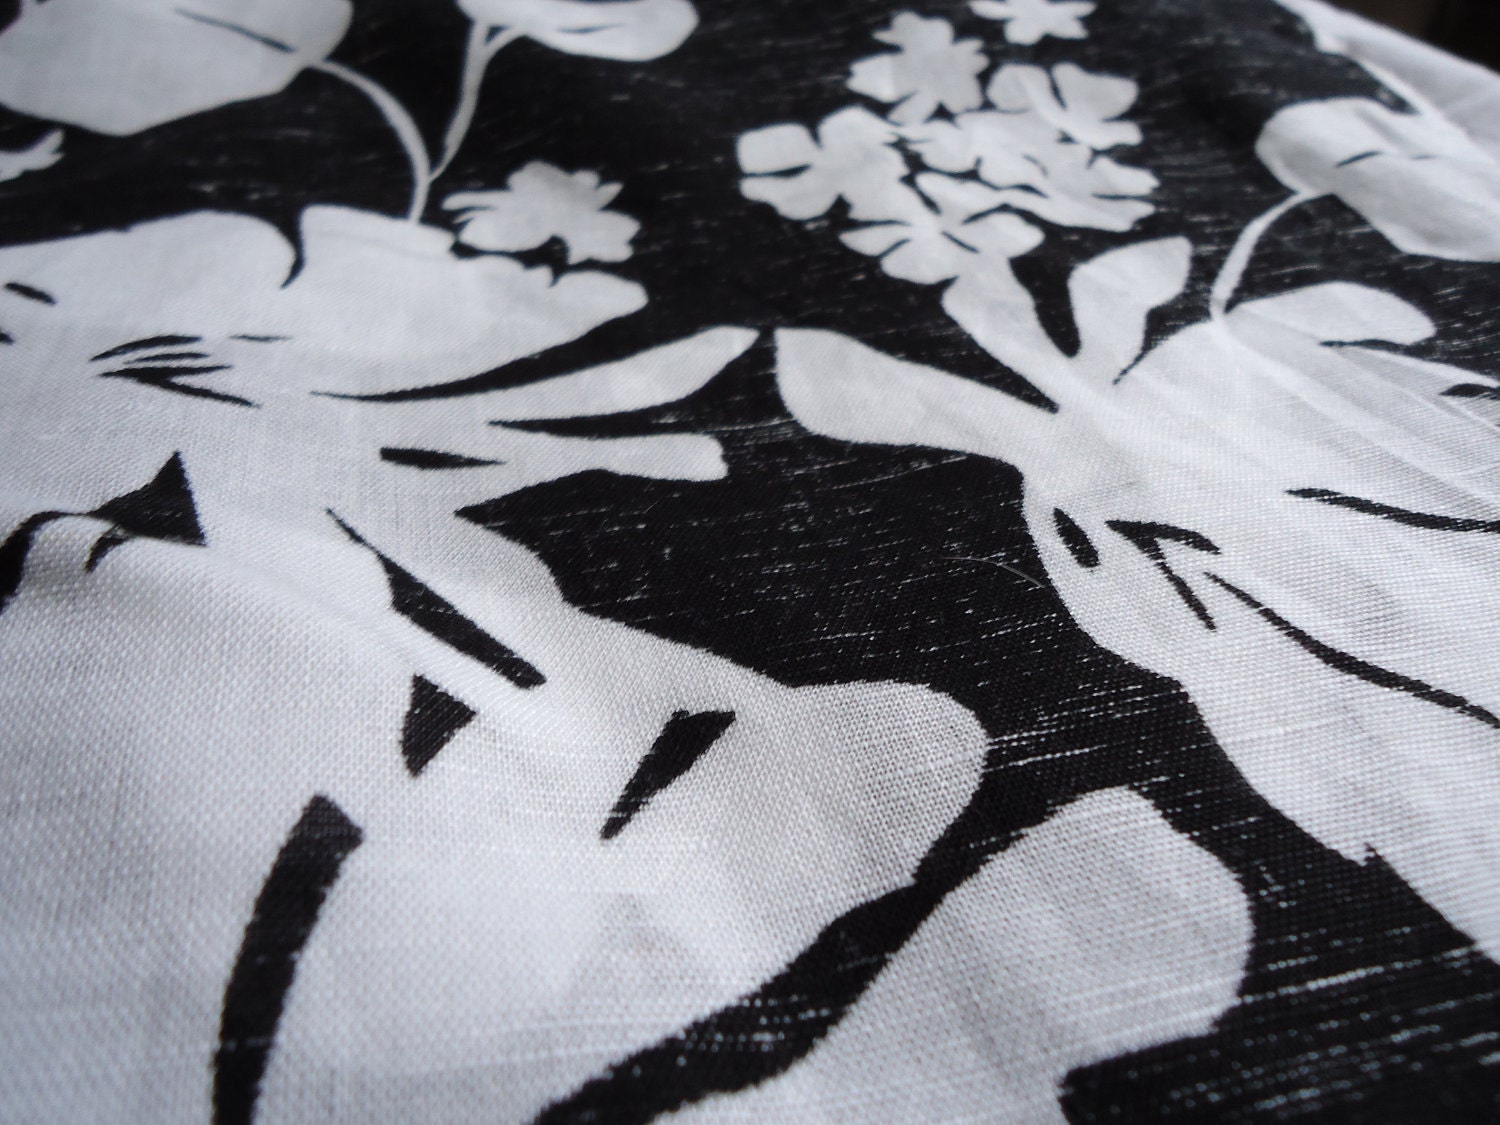
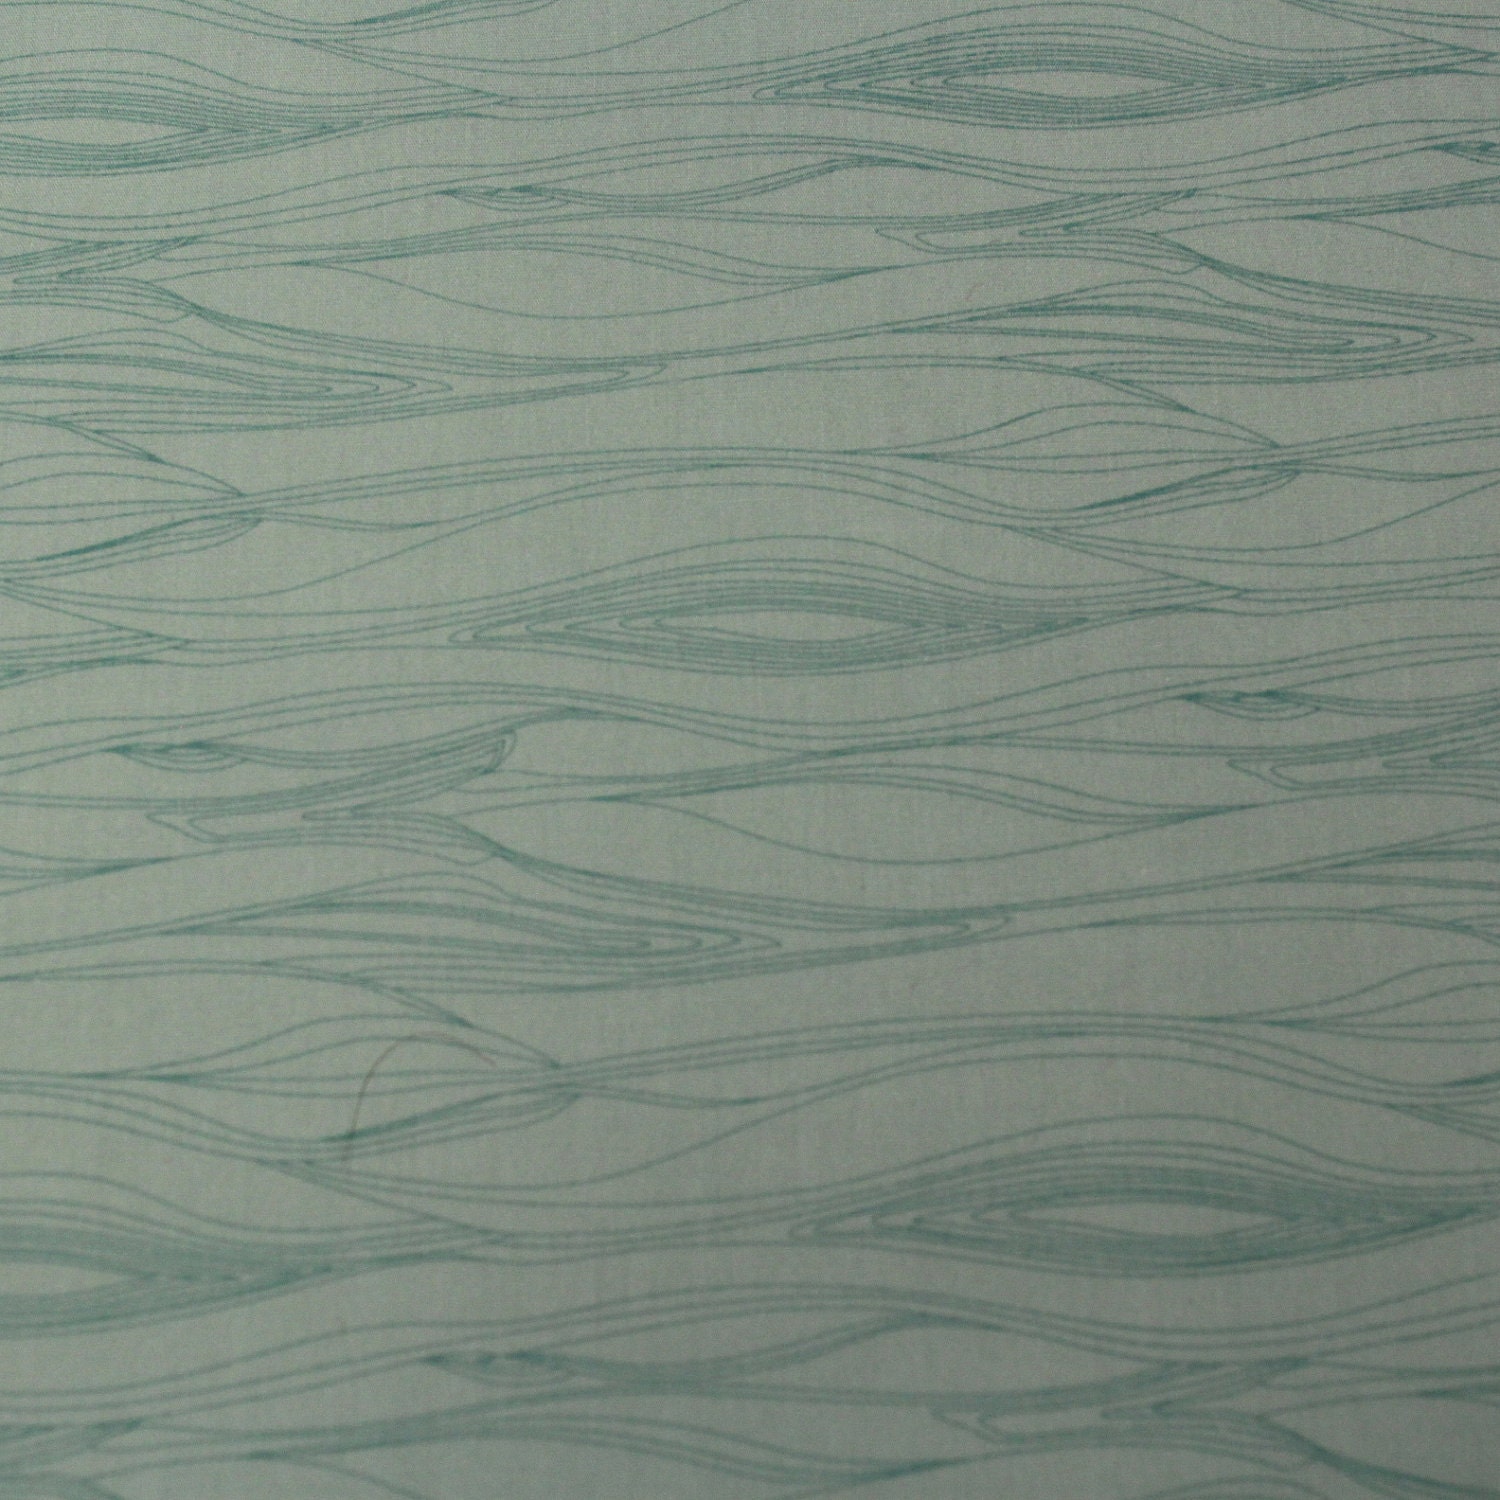
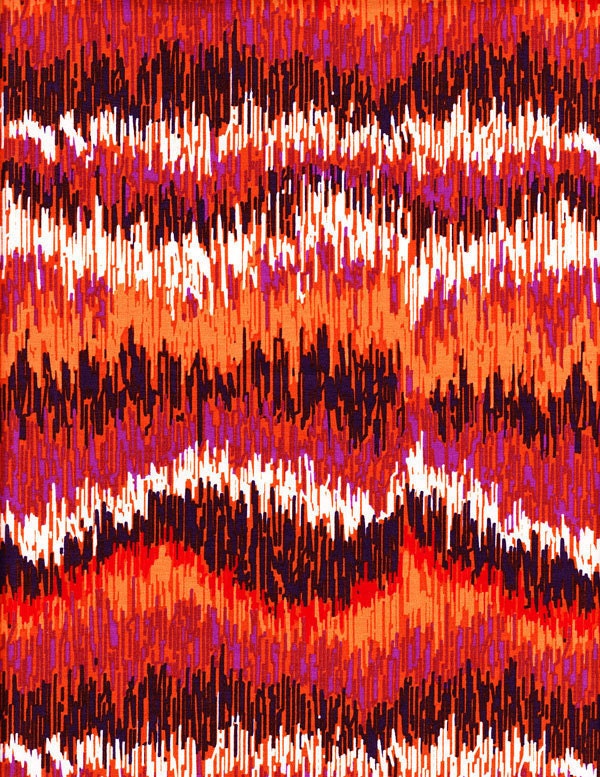
Divine Consign was happy to do so, and when I saw her carry up beautiful pieces of upholstery fabric, I knew what I was going to do: clutch wallets. The upholstery fabric pieces and swatches wanted to be Upholstered Clutch Wallets.
I arrived at this pattern after reading a number of online tutorials. None of them were quite what I was looking for but they certainly all helped. Melissa Stamel's Hold-It-All Clutch from
LilacLane was closest, so a special thank you to her! You can find her tutorial
here.
What follows is how I do it. Feel free use this tutorial to make a clutch for yourself or to sell, but please remember to give PoldaPop design credit.
You will need:
upholstery scrap or large swatch piece at least 10.5" x 9"
upholstery fabric swatch books
interfacing (I use Pellon 911FF)
magnetic snap
invisible thread
regular thread
7-9" all-purpose zipper
medium-heavyweight machine needles (I use 90/14)
small binder clips (to hold together layers of upholstery fabric)
I use several different seam allowances in this project.
Step 1: Cut out fabric swatches
Once I have chosen my outer fabric, I think about the color scheme I want for the inside. I then flip through the swatch books, cutting out all the fabric swatches that have this scheme. You'll need at least eleven swatches, but it's helpful to have more in case you can't remove the backing on one or two, or don't like how one fits with the others.
Step 2: Remove paper label
My swatches have a paper backing glued to the fabric with product details and I'm sure this is true in most cases. Some of these will come off with gentle pulling, but most will need extra help. I use an iron (set to wool/silk) and steam to get them off. Apply the iron to the paper for 20 seconds (move it around) and then pull the paper off. If it doesn't come, try more heat. Every once in awhile you'll get a particularly stubborn label. If multiple visits from the iron don't work, put it aside and move on.
Step 3: Plan what goes where.
Before cutting the swatches, lay them out in different combinations to see what looks best where. Once you are satisfied with the layout you can cut the swatches to size.
Step 4: Cut fabric swatches to correct size & apply interfacing where needed
Now you can cut the pieces to size. As you are doing so, figure out which ones will need interfacing and cut that, too. I always use interfacing on the cash/coupon pockets, and often for the background pieces unless they are very thick. You only need to apply interfacing to the thinnest credit card holders (interfacing can sometimes make it difficult to put multiple credit cards in a pocket). Do apply interfacing to the zipper pocket fabric.
Cut out the following pieces:
From outer fabric
Outer cover: 9" (width) x 10.5" (height) - 1 piece
Tab: 2.5" (width) x 4" (height) - 2 pieces
Wristlet: 3" (width) x 12.5" (length) - 1 piece
From swatches
Background: 9" x 5.75" - 1 piece
Credit card holders: 9" x 4.5" - 5 pieces
Cash/coupon pockets: 9" x 6.75" - 3 pieces
Change pocket: 7" x 8" - 1 piece
From interfacing
Change pocket: 7" x 8" - 1 piece
Credit card holders: only if needed
Cash/coupon pockets: 9" x 6.75" - 3 pieces
Background: only if needed
And of course you can mix and match the outer fabrics as you will. I sometimes use one of the swatches for the tab and wristlet and sometimes just use the main outer fabric.
Step 5: Sew credit card pockets
Fold all five credit card pieces in half so that they still measure 9" across, and press. Place one credit card piece 1" down from the top of the one background piece. Pin and sew with 1/4" seam allowance along raw edges.
Place folded edge of next credit card piece 1/2 inch below the folded edge of the first credit card piece. Pin and sew with 1/4" seam allowance. Continue doing this until all five credit card pieces are sewn in place on the background.
Measure down middle of credit card holders, 4.5" from each edge, and make some kind of mark to follow (chalk, invisible ink). Sew down your marking 2-3 times (for reinforcement) to divide the credit card holders in half making 10 credit card holders in all. Baste sides to the background with 1/4" seam allowance. Put aside.
Step 6: Sew cash/coupon/receipt pockets
Fold all three cash/coupon pockets in half and press. If you would like to add a label, a good place to do so is on the edge of the top cash pocket; sew that now. Take second piece of background and pin one of the cash/coupon pockets 1" from top. Pin and sew with a 1/4" seam allowance.
Place the folded edge of the second cash/coupon pocket 5/8" below the folded edge of the first cash/coupon pocket. Pin and sew. Repeat for the third cash/coupon pocket, which should now match up with the raw edge of the background (if not, just trim a bit of the background fabric off). Baste sides to the background with 1/4" seam allowance.
Step 7: Sew credit card pockets to cash pockets
Sew top edge of the cash pocket background to the bottom edge of the credit card holder background, right sides together with a 3/8" seam allowance. Open it up and make sure all layers and stitch lines are included. If it looks good, sew 2-3 along the stitch line again for reinforcement. Trim off excess seam allowance. The inside of the wallet is now complete. Look at it and admire how the swatches blend and contrast with one another! Then set it aside so that you can tackle the exterior.
Step 8: Sew zippered change pocket into exterior fabric
I use the zippered pocket tutorial from Sew, Mama, Sew! when I want to place a zippered pocket in something. You can find her tutorial
here. I've provided a brief outline of the process below.
Fold pocket in half, wrong sides together. Place fold of pocket 1" from the top raw edge of right side of the exterior. Open up the pocket so that the wrong side faces up and pin in place.
Place a strip of 1/2 wide clear tape 1/2" from the fold in the pocket fabric and 1/2" from each side.
Sew around the rectangle.
Peel off the tape, cut open the rectangle and pull pocket fabric through the hole to make a window for the zipper.
Glue the zipper in place.
Using a zipper foot, sew around the rectangle using invisible thread, sewing the zipper in place. I find it easier to do this if I line the edge of the zipper foot up with the edge of the exterior fabric and then move my need to the right so that it hits in the correct place.
Fold the pocket fabric in half and pin. Before removing your zipper foot, sew across the top of the zipper window one last time to hold the pocket fabric in place (so as to prevent it getting caught in the zipper). Change back to your regular foot and sew around the sides of the pocket with a 1/4" seam allowance. You may want to sew around the edge 2-3 times for reinforcement.
And, Voila! Zippered coin pocket:
Step 9: Sew wristlet (optional)
If you are using a wristlet, fold the material in half lengthwise with wrong sides together and press. Open it up and fold one side to the middle (wrong sides together) and press. Fold the other side in to meet it in the middle and press. Fold it one more time in half so that the raw edges are sandwiched no the inside. Pin and topstitch at 1/8" on both long sides. Set aside.
Step 10: Insert magnetic snaps.
Using the guide in the magnetic snap, mark the spot for the male magnetic snap 1.25" up from the edge on one piece of tab. Reinforce the fabric with a square of interfacing. I usually cut a circle (slightly bigger than the magnetic snap disc) from a scrap of extra-firm interfacing to provide extra protection around the snap. (I forgot to take a picture of this.)
Using the guide in the magnetic snap, mark the spot for the female magnetic snap 2" from the raw edge of the exterior fabric (opposite end to the zippered pocket). You may need to reinforce the fabric with a square of interfacing. I usually cut a circle (slightly bigger than the magnetic snap disc) from a scrap of extra-firm interfacing to provide extra protection around the snap. (Ditto.)
Step 11: Sew tab
Pin tabs right side together and stitch around three sides leaving one short side open. Clip corners, turn and press. Pin the tab to the center of the exterior fabric above the zippered pocket, raw edges aligned. Make sure that the magnetic snap is facing up. Sew in place with a 1/4" seam allowance. You may want to sew across the stitch line 2-3 times.
Step 12: Attach wristlet if using.
Baste raw edges together about 2" down from top of exterior.
Step 13: Sew exterior to interior
Use binder clips to "pin" exterior to interior right sides together. If the edges don't quite match up, do a bit of trimming. Make sure that the credit card pockets are at the top and the opposite to the zippered coin pocket.
Sew around all four corners with a 1/2" seam allowance leave approximately 7" open along top edge. Trim corners and turn right side out.
Step 14: Finish
Topstitch along the top of the wallet to close the gap. I use invisible thread for this so that it isn't obvious.
If your machine can handle the thickness, topstich all the way around for wallet for a nice finish (mine can't do this). You may need to use a zipper foot to go past the magnetic snap. Close the wallet and admire your fine work!
I'm sure this will work for lighter weight fabrics as well as long as you use interfacing on all of the pieces. It's a great way to use up any scraps - not just upholstery scraps/swatches.
I have tried to be as clear as possible in this tutorial but there's every chance that I've left something out. Please send me questions if you have any. I will try to figure out how to provide a printable download and add that later.
Good luck!


