The thoughts, sewing projects, and fabric oglings of a dedicated sewist.

Showing posts with label sewing technique. Show all posts

Five Grads, One Dress - The Seamstress' Cut

6/12/13
I started taking alterations a couple months back to round out my services for clients and because I discovered I actually liked doing them (nothing like a nice, easy hem job to balance out the longer projects!).  Shortly after I made this decision, Linda Hill, our area's most reputable home-based alterations lady, contacted me to se if I was interested in taking her overflow.  Yes, m'am!  (Must have been destiny at work . . .)

Elle's mother Mary in the dress 1980.  Source: Wednesday Journal

This project came to me via Linda.  The public high school in Oak Park requires that graduating ladies wear long white dresses.  The daughter of Linda's friend needed a family dress altered but Linda didn't have room in her schedule.  I almost passed but then found a way to stretch my schedule and I'm so glad that I did.  The dress was written up in a local paper with annoyingly sadly no mention of the seamstress, so I thought I'd provide some behind-the-scenes coverage.  You can read the newspaper version with some great quotes from the ladies who wore the dress and additional photos of the dress in action here.


Dress as it came to me

Dress insides

The dress had been worn by four women in the family so far: Elle's mother Mary, Mary's older sisters Nancy and Peggy, and Mary's oldest daughter Maranda.  Now it was Elle's turn, but the dress just didn't fit - Elle is a small person, but bustier than her aunts/sister.  Linda passed along some suggestions when she passed me her client and I took it from there!

First I carefully unpicked the side seams and took out the side seam zipper (this dress is now 35-years-old).  Then I basted fabric scraps at the side seam so that I could see how much extra room was needed (when Elle first tried on the dress for me, she couldn't pull it down over her girls!). 


I used the scraps to make a pattern piece for what needed to be added at the side seam:

I balanced out the two sides before creating a pattern


The dress has a tie that was just barely wide enough to use in the side seams, so I reduced the SA to 1/4", crossed my fingers and cut.  Taking out the side seam stiches had left small but visible thread holes in the fabric.  The holes bugged me now that the seam allowance was smaller, so I fused white knit tricot interfacing to the back side of the fabric, and voila!  no more holes.


I sewed the new side seam panels in place, replaced the old zipper with an invisible zipper, added a button hole and button to the tie, reduced the seam allowances in the lining to 1/4" and we were ready for the day.  Not an ideal alteration, but it worked!


I loved that I got to help extend the life of this dress.  It was both exhilarating and terrifying to work with something that had so many memories attached to it.  Elle's face made it so worthwhile!

Free Sewing Tutorial: Draft a deep cowl neck top

5/3/12
UPDATE: I've added a post about drafting a facing for this cowl neck here.

My tutorial on drafting a high cowl neck top has had a lot of pageviews in the last week (this always makes me happy).  So at the request of at least one reader (see? that's all it takes with me!), I'll show you how to draft a cowl neck top starting with a pattern that has a dart.  This will produce a deeper cowl neck like this one:


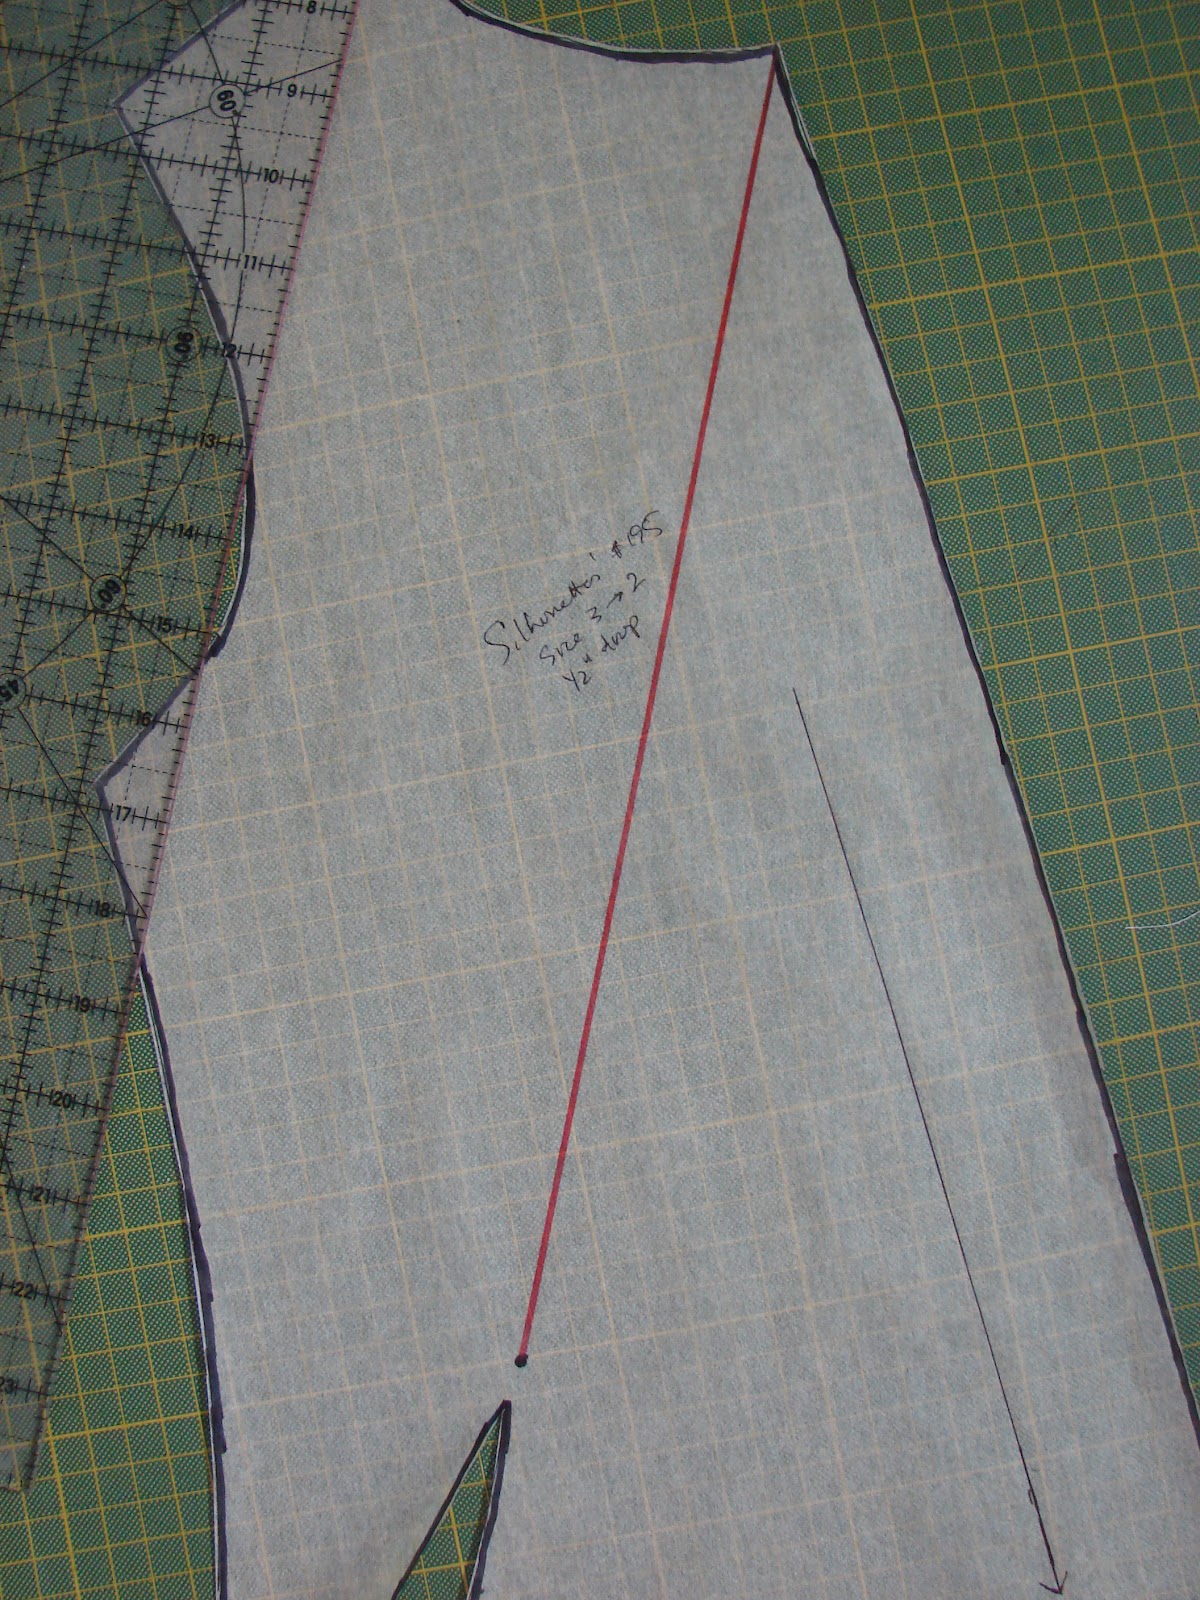
I started with Silhouettes' Pattern #195 as I have already made alterations to the pattern for a good fit (changed shoulder slope, took in waist/hip as they are smaller size than my shoulders).  It has a French dart, but these instructions should work regardless of where you dart is placed.

And I need to give a big thank you to Peggy Sagers for her help in figuring out how to draft this pattern (from Silhouettes).  I took a couple of classes with her at the sewing conference I went to recently (Original Sewing and Quilting Expo) and she encouraged people to contact her with questions.  So when I was trying to figure out what to do with the dart, I emailed her.  Within a couple of hours I got a very helpful response.  And this was on a Sunday.

Materials
*1 - 1.5 yards of drapey fabric with stretch (jersey, knit, stretch charmeuse, maybe even stretch poplin)
*Tracing paper (I use Bienfang Canary Sketching and Tracing Paper, the 50 yard/24" roll)
*Clear ruler
*Top/bodice pattern with a dart


Step 1: Move dart to neckline.
Trace your orginal pattern onto another sheet of tracing paper as you'll need to do a lot of cutting.  To move the dart to the neckline, draw a straight line from the dart point to the center front neckline.


Now cut along this line until you are about 1/8" away from the dart point (this will be your "hinge"). 


Now close and tape the orginal dart which will cause the pattern to spread at the new dart point.  It should look like this:


All right!  Step 1 is done.  You have moved a dart!


Step 2: Cut & spread neckline
Draw a curved line under the neckline, 1.5 inches down from the original. Cut along this line until you are about 1/8 inch from the shoulder line.

Draw two lines that meet at a right angle on a new sheet of paper. Place your cut pattern piece along the top line on this piece of paper. Spread the neckline so that both points touch the top line. Angle the remaining bodice so that the bottom center front corner touches the side line. Tape into place.  If that sounds confusing, it isn't - I think it's just easier to understand with a picture:


Smooth out the angle created at the shoulder line:


(Please ignore the second layer of pattern - that was my first try and it wasn't correct so I just taped take 2 over the top.)

Step 2, check!


Step 3: Turn half pattern into full pattern
You need to cut on a bias for this design, so you will need a full instead of a half pattern. Take a big piece of tracing paper and draw a T with lines meeting a right angles. Trace your half cowl neck pattern onto one side of the T and then flip and trace it onto the other. It should look like this when you are done:


I know this looks like something that would never fit a human body, but trust me, it will work!  And please ignore the wide band in the middle - I had to tape two pieces of tracing paper together to get one that was big enough.

Good work - the hard parts are all done!

Step 4: Place and cut your fabric
Spread out your fabric. Place the front pattern piece on the bias and the back pattern piece on the straight grain. It will look like this:


Cut and sew the top as you would normally.  You can serge the edges, turn them under by 1/4" and topstitched them into place or leave them just serged for an edgier look  You can add any kind of sleeve or even a hem band.  This top will fit and look great.  Devon calls this my sexy top and looks suspicious when I wear it out with friends!


Sewing Tutorial: Ode to Bias Tape

2/16/12
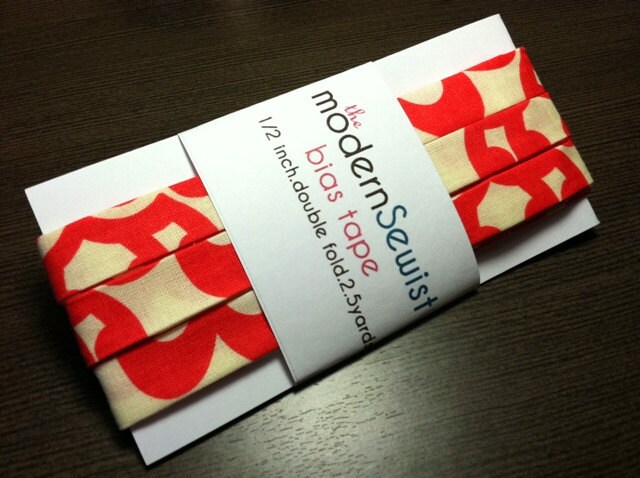
Double Fold Bias Tape 2.5 yards - Amy Butler Wallflower in Cherry
From TheModernSewist shop on Etsy

So if you have been following this blog recently you know that I love bias tape.  And I love even better making and using my own out of good fabric.  When I first read that store-bought bias tape is not as nice, I thought, "Really?  How much difference can it make?"  Turns out, a lot.  Store-bought bias tape is much stiffer than bias tape because the fabric used is not - ahem - good quality.  This makes the tape less flexible.  It doesn't feel nearly as nice to the touch, and the selection is, well, dull.  Don't get me wrong - I still use it sometimes if I want something simple where flexibility doesn't matter (like a bag) - but it ain't nothing like the real thing.


Making bias tape at home is really pretty easy as long as you have the right tools.  I use a tutorial that I found at Coletterie.com (makers of those cool vintage-inspired patterns - and they have a new book that I'm dying to own).  You can find the tutorial here.  I like making bias tape when I have an odd amount of fabric left, like 1/4 - 1/3 yard of something that I don't really want to use for a clutch for whatever reason. 

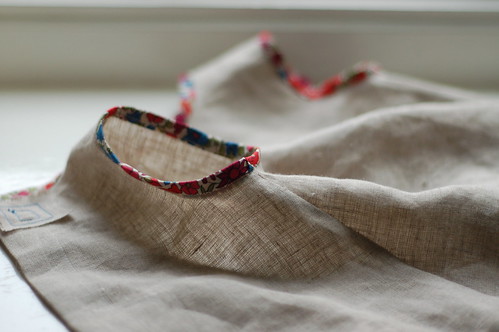
liberty trim
From Coletterie.com

Bias tape on a hem or pocket or sleeve is a great way to add contrast to the garment.  If you have a solid color main fabric, you can use a print bias tape to add some pop.  Or you can use the bias tape to give a shock of color - light blue with red, purple with grey, lime green with black & white.  You can also play around with mixing textures.  You might use silky charmeuse bias tape on a cotton or denim garment to prettify the look, faux suede or leather bias tape to give a piece some edge.

Two new ways I plan to use bias tape:

1) Cover piping.  I love piping and I have a great dress I'm dying to make.  I'm going to cover the piping with bias tape that I've made to give it a really unique look.

2) Upholstery clutch wallet.  I'm going to try a variation of my clutch wallet in the next few days that will have bias tape on the edges.  This will make it easier to sew through the layers of upholstery fabric and it will give me new opportunities to play around with color/texture contrasts.

I'm also always on the look out for inspiration.  Here are some other ways I've seen folks using bias tape.
COCO SILK BLOUSE black and white silk top free worldwide shipping
From the shop Guilia on Etsy
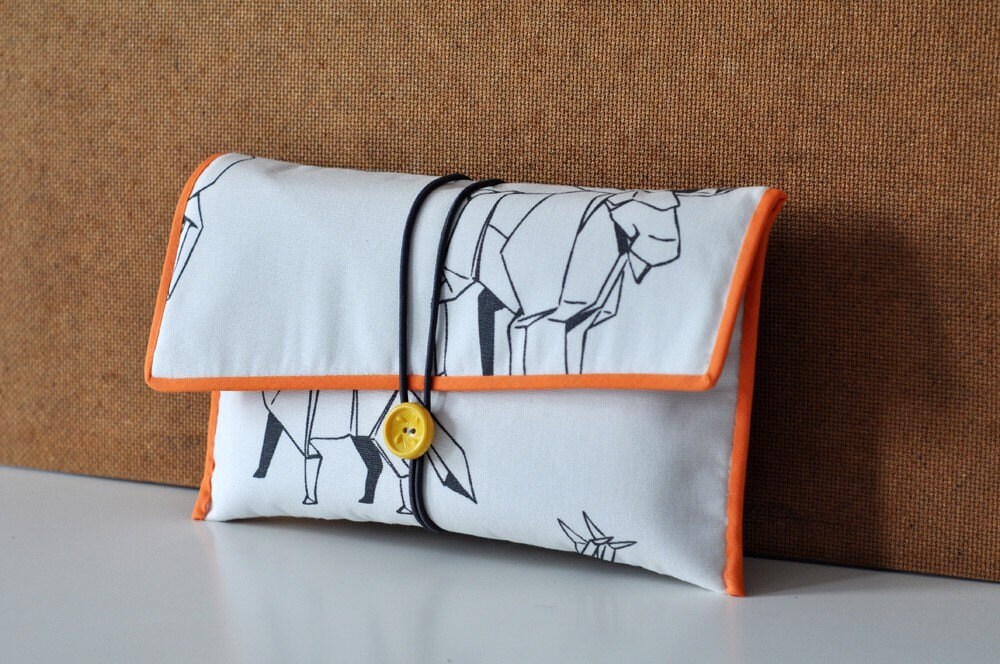
Fabric Button Clutch - Origami Wildlife
From ShopWishfulThinking on Etsy

Sewing Tutorial: Easy Zippered Lining Pocket

2/9/12
I spend a fair amount of time researching sewing techniques online, particularly when I am trying to do something new.  I love this about the sewing community - people are so generous with their knowledge!  I'm adding a page to my blog with sewing resources so that if you are so inclined, you can have easy access to helpful tutorials.

I'm sewing some bags this week and I'm putting zippered pockets in all of them.  I want them to be attractive, because they will be on the outside of my new clutch, and on the reversible side of my MaiseyBelle bag.  I really like this zippered pocket tutorial from Sew, Mama, Sew, because it allows the pocket fabric to peek out and become a design element.

TA1photo 5.jpg
From Sew, Mama, Sew tutorial
TA1clasp 11.jpg


There are a couple of adjustments that I make to her directions:

1) Instead of drawing a rectangle for the zipper window (.5 inch x 7 in), I put a strip of 1/2 inch wide clear tape where I want the zipper window to go. I then sew around the tape and simply peel it off when I'm done. This saves time with drawing and I don't have to clean off the ink afterwards. And if I don't quite get it centered correctly, I just pick it up and move it.

2) I like to reinforce the pocket in some way so that it doesn't pull apart from the weight of keys, change, etc. You can reinforce the pocket fabric with interfacing and add an extra strip of interfacing where the zipper will go. If the fabric is quite strong (home dec or upholstery weight) I sometimes simply stitch around the pocket 2-3 times and then zig-zag or serge the edge. Reinforcing the pocket satisfies the same gene in me that makes me put more tape than is needed on a package before putting it in the mail (that little voice that says, "just in case . . ."). And it is a genetic trait, I'm sure. I used to curse (but only a little) my dad when he sent me packages when I lived abroad. It was impossible to open the d**n things without the use of several sharp tools.

Once you get the hang of it you can add a zippered pocket to a bag lining or exterior in 20 minutes.  And you can have it complement the bag, too!