The thoughts, sewing projects, and fabric oglings of a dedicated sewist.

Showing posts with label by hand london. Show all posts

Old School Rickrack

7/28/15
So wikipedia just informed me that rickrack's popularity peaked in the 1970's. I'm sure my mom stitched it onto the clothes that she sewed me, although I have no physical evidence of this. Our living room at the time was on trend (avocado and vitamin pee yellow dominated the color scheme) so I'm sure she was hip to rickrack.

Hi! Yes, it's me! I started a new job at the beginning of March that messed with my blogging schedule and just generally turned my life upside down for a while. I had to choose between sewing and writing/reading about sewing, and I went with the former. I'm probably only writing this post because I'm on vacation this week (kids are with grandma, D and I are home alone . . .). But if feels good to write something more substantial about sewing instead of sporadically posting photos on Instagram.

If I do manage to blog about sewing again I have some fun projects to show. I made jeans for starters! And another Style Arc Marni jacket and some tops and other random things. But this post is about a skirt.

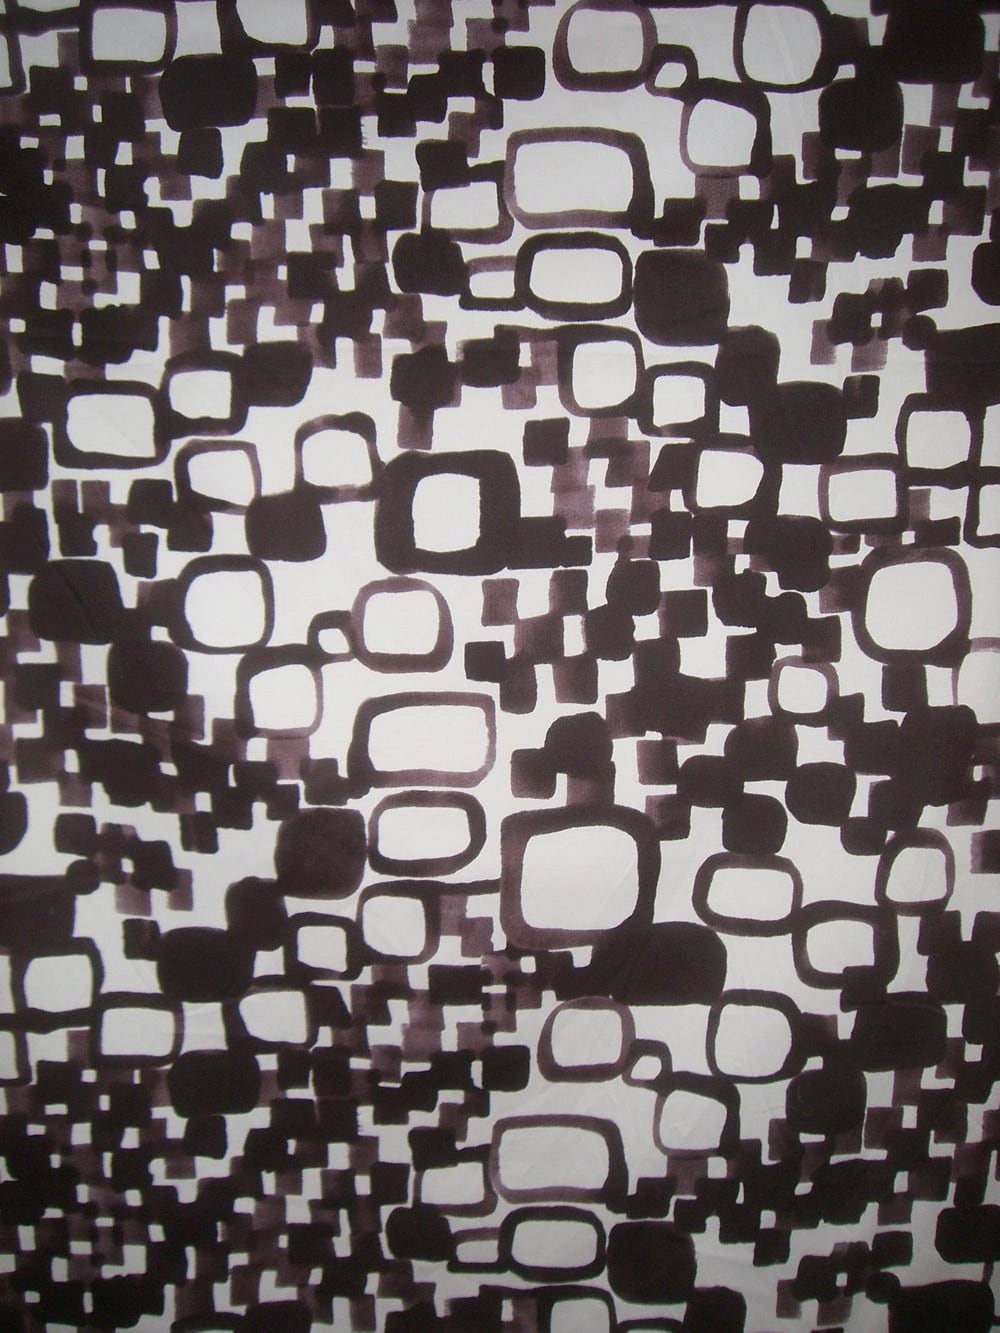
I've had a version of this skirt in my head for about three years. I wanted a flared skirt to replace a simple flared skirt that was damaged by some zinc oxide and never really recovered. I found an Alexander Henry quilting cotton that was a good reverse of the original skirt (that one was black with beige/white embroidery). But I felt like something was missing so it never got made up. This spring I worked on a skirt for a client and I found the inspiration I needed: rickrack! The skirt needed rickrack!


I drafted this skirt using the By Hand London quarter circle skirt tutorial (genius! circle skirts math simplified, with an app no less). I used the waistband from my skirt sloper, then measured the bottom edge of the waistband and used that as my waist circumference for the circle skirt. Well, this is what I did after I cut it out too small the first time. For the hem band, I rather haphazardly cut out and edge using the bottom edge of my circle skirt as a guide. I inserted black rickrack between the waistband and skirt, and skirt and hem band:


And I made the extra effort of using a hem facing, and I really like how this turned out (and it made hemming the circle skirt edge easier to do):


I lined the skirt with cotton poplin and inserted an invisible zipper through the center back seam (the only seam in the circle skirt!) and I was done. I'm glad I waited, because this is exactly what I wanted. I like how the skirt bells away from my body due to the crispness of the cotton, and I like that the embellishment makes it look just that bit fancier (if rickrack counts as fancy).


I hope all of you are having a fabulous summer with lots of fun sewing projects and plenty of summer cocktails!

Elisalex Dress: The Details

5/20/14
This dress turned into a battle of wills. If I hadn't liked the fabric so much (purchased from the Etsy Shop FabricsAndTrimmings last summer), I might have waved the white flag and moved on months ago. Most of the problems were self-inflicted: poor choice of underlining, and not recognizing early enough that the skirt design just didn't suit my body. Once I ripped out the former and abandoned the latter, the dress came together pretty easily.


I probably can't remember all of the changes I made along the way, but I know that the following happened:
  • 1/2" sloped shoulder adjustment
  • took in the top of the princess seam
  • increased SA on sleeves to 1"
  • lengthened the bodice by 1.25"
  • reduced the side seam SA to 3/8"
  • used my TNT pencil skirt (drafted from Studio Faro's worksheet) for the skirt


I used some of the skills I learned from Susan Khalje's Couture Dress class on Craftsy for the construction:
  • traced the stitch lines and hand basted or pin basted the seams before sewing
  • made the piping from silk muslin and 1/8" cotton cord
  • stabilized the neck and back with silk organza selvedge
  • lined the bodice with stretch cotton poplin, attached by hand with fell stitches
  • bound the seam allowance in the skirt with Snug Hug using Laura Mae's tutorial
  • used stretch lace on the hem allowance (and sewed up with a catch stitch)
  • added drapery weight to the back vent to stop the corners from curling


The zipper was the last battle ground for the dress. All told, I think I handpicked a lapped zipper three times and a centered zipper four times. And every time it looked terrible. I've had success with lapped zippers in the past, so I'm going to say that the problems were due to the stretch in the fabric. In the end, I threw in an invisible zipper and I'm quite sure I won't lose any sleep over this. 


I'm glad the fabric didn't become a casualty of the war. And that I only suffered minor injuries (pricked fingers, one ding from the sewing machine). And that my medal of honor has green flowers on a lilac background!


If you want to read through the early battles, you can find them here, here and here, and my victory dance is here. And now I'm going to make something EASY with jersey fabric.

Under the Wire

5/15/14
Whew, there are two contests I wanted to enter this dress in and I just got it done just in time - then almost didn't have time to do a post so that I could enter them!

I'll do a longer follow up about the final stages tomorrow, but WAH-LA! It is finally finished!


Can you tell I am just a little bit excited?


And it was worth it in the end, as I LOVE my Elisalex dress and plan to wear it as much as possible all summer long.

I love the print, the piping (oh, can't see it? Here it is again) . . .


And the shoes!


I ordered these from ebay and they were delivered one minute after I stopped taking photographs because it started to rain. Yeesh. I'll get more pictures this weekend of the innards and the dress with the shoes.

Thanks for cheering me along as I tackled this dress!

I Made a Jumpsuit!

9/10/13
Butterick 5073, to be exact:


Butterick 5073 was my half of a barter agreement that I made with my friend, the lovely Terri Falvey.  Terri is a graphic designer and copywriter.  I wanted a new logo for my business cards, clothig labels (still working on those), and website, but didn't have the cash to pay for it.  I did have the time, however, to sew something.  We found the pattern in Maddie Mod Patterns (lots of cute patterns - you should check it out!) on Etsy and the fabric came from Girl Charlee (now sold out).  I must admit that Terri completed her side of the bargain long before (as in months) I completed my half of the bargain.  But I did indeed get it to her in time for the end of summer and transition into fall.


The collar really makes this jumpsuit.  I debated if I should follow the direction on the collar closure and finally did.  There are four hooks and eyes that close it up the back, and I sandwiched them as far as I could into the seam allowance.  I wanted to make sure that the closure was as invisible as possible from both sides (you turn the collar over), and I didn't think an invisible zipper would fold nicely.  I'm somewhat happy with the way this turned out, but any suggestions would be appreciated!

As for the WIP Elisalex dress, I did manage to squeeze in some work this weekend in spite of having a fair amount of family stuff on the schedule.  To my everlengthening list of completed tasks on this dress I can now add:

  • Received 1/8" cord.
  • Made piping.
  • Handstitched and then machine sewed piping to bodice.
  • Hand basted skirt to bodice.
  • Took out stitches and stitched again to get a better match up.
  • Repeat.
  • Repeat again.
  • Almost gave up and did it one more time for a good match.
  • Sewed in stay tape to neck and shoulders.
  • Sewed shoulder seam.
  • Sewed center back seam to bottom of zipper.
Please excuse the one-handed photos.  I needed the other hand to hold the dress closed.


Next up, more piping then sleeves and zippers!  I watched these two sections of the class at 6am the past two mornings so that I'm all ready (and now raring) to go.  For now, I'm back to wedding dress construction . . .


WIP: The Neverending Elisalex Dress

9/5/13
Oh, I had such high hopes for this dress.  And I haven't given up but boy, have I lost steam.

Here's where I am with my By Hand London pattern:


Rather pathetic, I know.  Not hardly much to show after starting this dress, oh, sometime back in June.

I decided to use this as my pattern for Susan Khalje's Couture Dress class on Craftsy.  I wanted to get some practice with couture techniques before starting on the wedding dress (more on that later).  Some of the problems have come from my choice of fabric, a stretch cotton sateen that I fell in love with from Fabrics and Trimmings (Etsy shop).  And then there's also my lack of experience with these techniques - yes, that.  Here's what I've done so far:
  • Made a muslin of the bodice.
  • Made alterations (little bit here, little bit there, nothing big).
  • Cut and marked (with waxed tracing paper, no less) the underlining.  I'm using a cotton batiste for the skirt, bias cut organza for the bodice (I managed to squeeze this question in when Claire Schaeffer had a lunchtime discussion on the Threads fb page).
  • Cut fashion fabric.
  • Hand basted underlining to fashion fabric.
  • Hand basted pieces of bodice and skirt together.
  • Tried on bodice with help from friend Nancy.
  • Realized that my underlining was causing some bubbles.  Unpicked and hand basted underlining again.
  • Made piping.
  • Tried on bodice and skirt together (but not attached). 
  • Wondered what the hell that barrel was doing around my legs.
  • Realized I really should have done a muslin of the skirt, too.
  • Put dress away for a while to gather more courage.
  • Fitted skirt with help from Rhonda, then took a total of something like 12 inches off in various places from the skirt (width) and another 4 inches in length (I already chopped 4 before I cut the pattern).
  • Machine stitched skirt pieces together. 
  • Stay stitched waist in skirt.
  • Finished seams allowances in skirt with lavender Snug Hug.
  • Felt happy again.  Doesn't a nice seam finish make you happy, too?
  • Basted piping to waist seam on skirt.
  • Machine stitched bodice together. 
  • Catch stitched seam allowances in bodice to underlining.
  • Went to put bodice and skirt together and the pleats in no way matched the seams in the bodice.
  • Removed piping from skirt, unpicked staystitching, and took apart pleats.
  • Unpicked shoulder seams in bodice and center back seam in skirt so that I could lay them out flat.
  • Reconfigured pleats so that they matched the seams in the bodice.
  • Decided I wanted thinner piping (not 3/16" but 1/8").  .
  • Decided that I might want piping at neckline as well as waist.
  • Ordered more 1/8" cord.

And that's where I'm at, waiting for the cord to arrive so that I can make more piping.  I'd like to have the option of wearing this dress to a wedding on September 28, so I'm going to try to blast through on the next couple weekends (providing that cord arrives).  What do you think?  Was I right to want the piping at the neckline as well as the waist?


I have had more success in my other ongoing WIP, my sewing room.  I bought a cone thread rack with some of the money from Camp Runway, and someone (the sewing fairy??) kept whispering in my ear that it would look much better if I painted it, so I did.


And then she told me that since I had ROYGBIVed the cone thread, I really should do the same with the regular thread:


But when she started whispering about the bobbins, I told her she really needed to start concentrating on that Elisalex . . .

Spring Cleaning

3/13/13


It does not feel like Spring here in the Midwest - today's high was 36 degrees F, and while that's warmer than it has been lately, it still felt like winter when I was walking around today.  This picture was taken only last week:

Belly wrote that note to the leprechauns, trying to lure them into her trap. 
It says, "Leprechauns, plees hibernate in this snokav. I woot hrt you."

But I've come to understand "Spring" more as a state of mind than an actual season since we tend to go straight from winter to summer around here.

And I feel like Spring, even if the weather won't oblige.  I've got that quickening of energy, that renewed sense of purpose and productivity that I usually associate with the end of winter and beginning of, well, whatever it is that comes next. 

So I've been cleaning up my Pinterest boards and getting excited about fabrics and dresses and skirts for the warmer weather.  I don't actually spend much time looking around on Pinterest, but I have found it to be a great way to share ideas with clients.  When someone is planning a dress or skirt, we can both put up pictures of possible styles and fabrics all in one place - much easier than scheduling a bunch of meetings or sending a gazillion emails back and forth.

And then, of course, I've got plans for my own spring/summer wardrobe.  I love love love the Elisalex dress pattern over By Hand London.  It's rather expensive (especially when you add on shipping) but I just can't get it out of my head, so I'm either going to give in and buy it or knuckle down and draft something similar to it.

Image of Elisalex DressBy Hand London - Elisalex Dress pattern.  The full tulip skirt won't suit all body types but I love the silhouette

The pattern calls for a stiffer fabric to make the most of the tulip skirt.  I have some beautiful stretch taffeta in peacock, but that's a little fancier than what I'm imagining.  I visited one of my favorite Etsy shops, FabricsAndTrimmings, and fell in love with these cotton sateens:

Orchid and Chartreuse Floral Print Cotton Stretch Sateen Fabric--One  Yard
Orchid and Chartreuse Floral Print Cotton Stretch Sateen Fabric
 
Chocolate Brown Mod Geometric Print Stretch Cotton Sateen Fabric--One Yard
Chocolate Brown Mod Geometric Print Stretch Cotton Sateen


What do you think??  And has spring fever hit you yet?